
Speed Is Built Into the Setup, Not Into the People
The difference between a hay stacking operation that processes 80 bales per hour and one that processes 110 bales per hour with the same 2-person crew and the same 9JYY-4.5 conveyor is almost entirely a setup and workflow decision, not a physical effort decision. Trying to stack faster by working harder is sustainable for 30 minutes and leads to injuries; changing the layout, position, and sequence of the operation to eliminate dead time and unnecessary movement is sustainable all day and costs nothing. This guide covers the specific setup choices and workflow habits that extract maximum throughput from the 9JYY-4.5 — from conveyor positioning and bale orientation to the stacker’s movement pattern and the feeder’s rhythm.
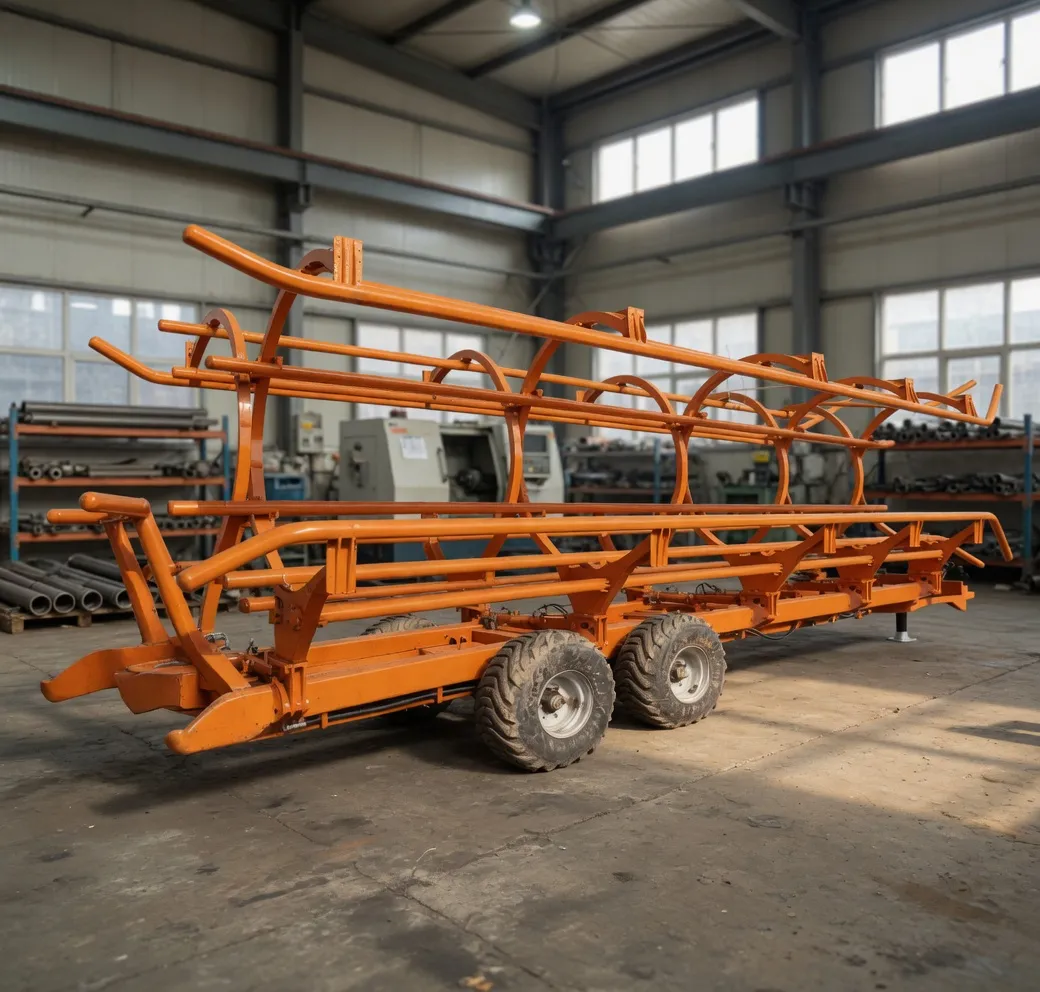
Maximum throughput from the 9JYY-4.5 comes from positioning and workflow discipline — not from working harder, but from eliminating the wasted seconds between each bale that accumulate into lost hours across a full day.
Step 1: Position the Conveyor for Minimum Feeder Movement
The feeder’s job is to place a bale on the belt, step back, pick up the next bale, and repeat. Every step the feeder takes between the bale source and the conveyor infeed is dead time — the belt is running but no bale is on it. Eliminating these steps is the single highest-leverage positioning decision in the entire operation.
The ideal positioning places the conveyor infeed within arm’s reach of where bales arrive — the truck tailgate, the accumulator drop point, or the pile at the shed entrance. The feeder should be able to pick up a bale and place it on the belt without taking more than one step in any direction. If this is not achievable because the truck cannot reverse close enough, position the bale accumulator or a second person to pass bales to the feeder, rather than having the primary feeder walk the distance themselves.
For truck unloading: back the truck as close to the shed entrance as possible, then position the conveyor infeed at truck bed height at the truck’s tailgate. The driver slides bales across the truck deck and places them on the belt — no lift required from either person at this stage. The stacker at the top of the conveyor does the only placement work in the system.
Step 2: Set the Angle for Comfortable Top Delivery
The 9JYY-4.5’s elevation angle must be set so that bales arrive at the top at the stacker’s working height — approximately 900–1,100 mm above the level where the stacker is standing. Too high and bales arrive above shoulder level, requiring the stacker to push up rather than across — tiring quickly. Too low and bales arrive at knee height, requiring the stacker to bend down to collect each bale before placing it on the stack — equally tiring and a back-injury risk.
Calculate the required angle before starting: target top-of-belt height = stacker’s standing level + 900–1,100 mm. If the stacker is standing on the stack at 1.2 metres above shed floor, the conveyor top should deliver at 2.1–2.3 metres above shed floor. With the 4.5-metre belt: angle = arcsin((2.2 − infeed height) / 4.5) ≈ 28–33 degrees for a typical infeed height of 400 mm and a target delivery of 2.1 m. Confirm with a tape measure before starting — repositioning mid-session wastes 10–15 minutes.
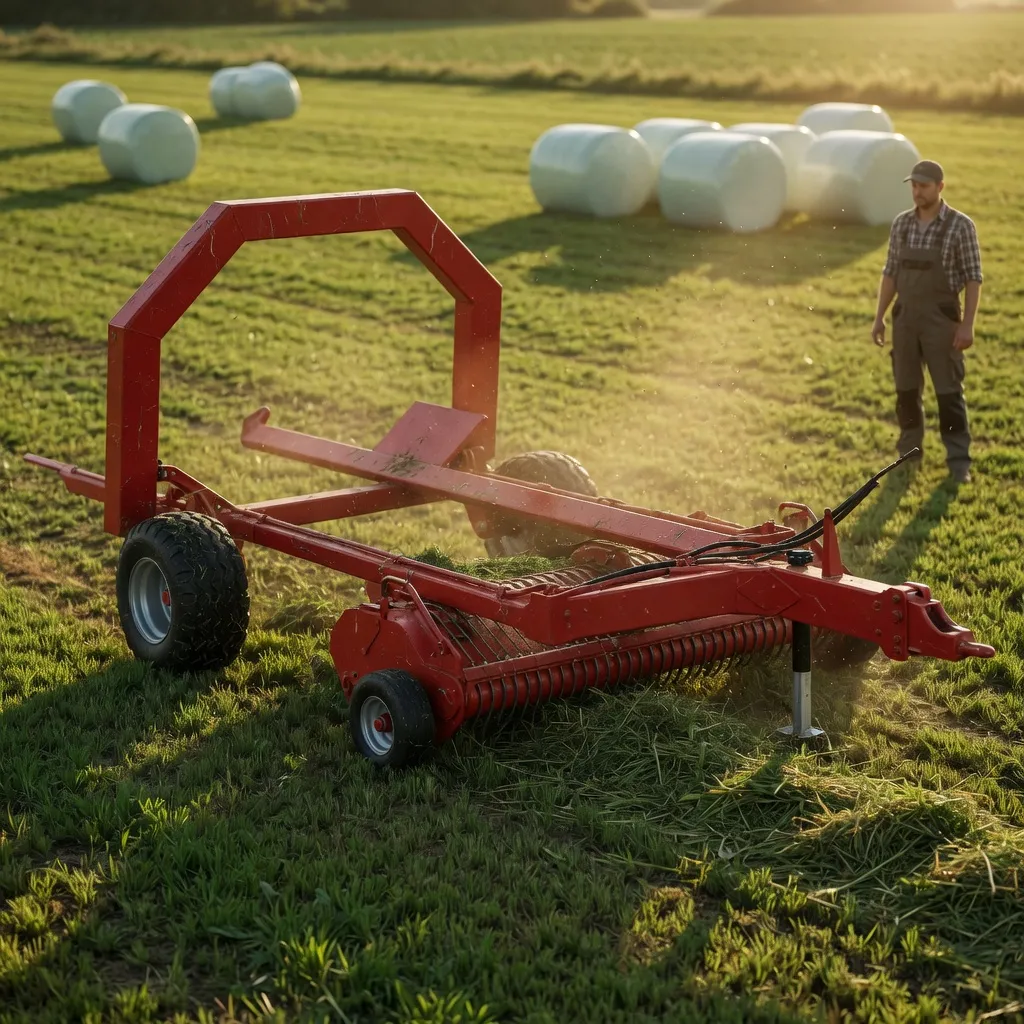
A bale transporter delivering bales to the conveyor infeed point eliminates the carry distance between field and shed entirely — combining transporter and conveyor is the most complete hay handling system for reducing per-bale labour time.
Step 3: Establish the Feeder’s Rhythm
The feeder controls the operation’s pace. A feeder who places bales at irregular intervals — three bales in 8 seconds, then a 6-second gap — forces the stacker to manage an uneven arrival pattern, which increases the risk of bales bunching at the top or arriving while the previous bale is still being positioned. A consistent rhythm — one bale every 3–4 seconds — is far more productive than an irregular rhythm of the same average rate.
The feeder should establish a physical routine: pick up bale from source (1 second), turn and step to conveyor (0.5 seconds), slide bale onto belt (0.5 seconds), step back (0.5 seconds), turn to source (0.5 seconds). At this pace, a bale is placed on the belt every 3.5 seconds — approximately 100 bales per hour. This rhythm is sustainable because none of the individual movements are high-effort: the pick-up is a hip-height lift, the slide is a forward push, and the step back is a weight shift rather than a stride. Maintaining this tempo for 8 hours is well within a healthy adult’s aerobic capacity at this effort level.
Step 4: The Stacker’s Movement Pattern
The stacker at the top of the 9JYY-4.5 receives bales from the belt and positions them in the stack. The stacker’s movement pattern — how they collect, turn, and place each bale — determines whether the bale from the belt is placed efficiently or creates a recurring timing bottleneck at the top.
The most efficient pattern: stand with the body half-turned toward both the belt delivery point and the stack placement position. As a bale arrives, the stacker slides it laterally from the belt end to the stack edge with a push rather than a lift, then pivots to push it into position on the stack with a second motion. This two-motion pattern — belt-to-edge, edge-to-stack — is faster and lower-effort than the one-motion full-arm carry that many stackers default to. It also keeps the stacker’s feet stationary for most bales, reducing the cumulative fatigue from constantly repositioning on top of an uneven bale stack.
For the outermost and highest positions in the stack — where the lateral slide pattern is not available — the stacker will need to revert to a partial lift. These positions are unavoidable but should be minimised by building the stack from the back forward and from the bottom up, so the push-pattern positions are used for the majority of bales and the lift positions are reserved for the last few bales in each layer.
Step 5: Plan Stack Sections to Minimise Conveyor Repositioning
Each time the conveyor must be repositioned to address a different section of the stack, the operation loses 5–10 minutes of production time for setup. Plan the stacking sequence to work in sections that maximise the number of bales stacked before repositioning is needed. Typically this means stacking from the back of the shed forward in rows 3–4 bale widths deep, then repositioning the conveyor angle upward for the next layer rather than sideways for a different stack section.
A 20-metre-wide shed with 3-high stacking typically requires 2–3 repositions per fill — 10–15 minutes total repositioning time across a full day. Compared to a manual relay chain that repositions continuously as the stack face grows, this is a major efficiency advantage.
Recommended Product: 9JYY-4.5 Hay Baler Conveyor
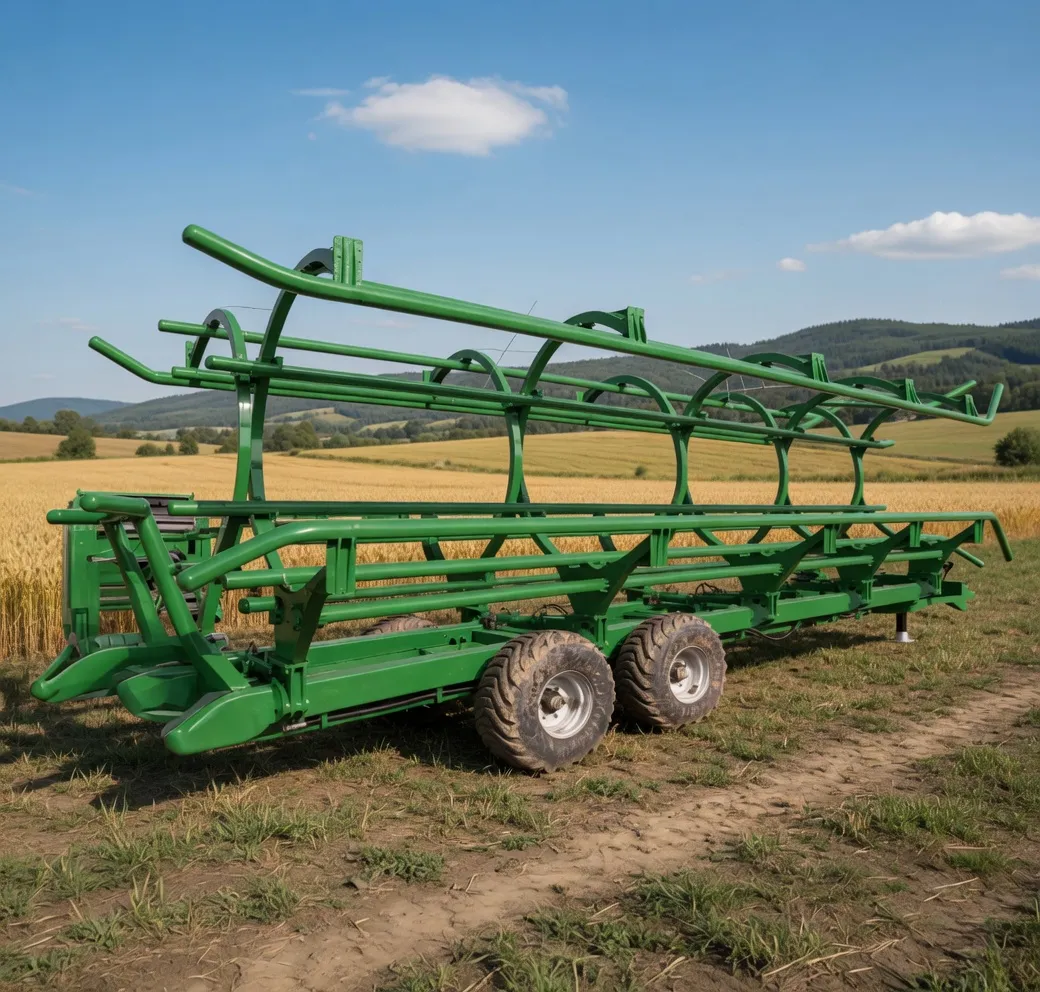
4.5 m belt conveyor enabling 90–110 bales per hour throughput with a 2-person crew at sustainable effort levels. Adjustable 20–40° elevation for any shed stack height. Single-phase 240 V motor. Approx. 65–80 kg — repositions by hand in under 5 minutes. Available from EverPower’s Condell Park NSW warehouse with Australia-wide delivery.
Frequently Asked Questions
Right Setup. Right Rhythm. 110 Bales Per Hour.
EverPower can advise on conveyor positioning and angle setup for your specific shed layout and stack height.
EverPower Baling Machinery Australia Pty Ltd | 27 Harley Crescent, Condell Park NSW 2200
📞 +61 2 9708 3322 | ✉️ [email protected]