Bale Damage on a Conveyor Is Almost Always a Setup or Handling Problem — Not a Machine Problem
A hay bale that arrives damaged at the shed stack — corner broken, twine snapped, net wrap torn, bale shape distorted — has almost always been damaged at one of three specific points in the conveyor system: at the infeed where it is loaded onto the belt, at the top end where it arrives and is handled by the stacker, or on the belt itself where incorrect angle or belt speed causes the bale to tip or slide. None of these damage causes are inherent to the 9JYY-4.5 — they are setup and handling decisions that can be adjusted without mechanical changes to the machine. This guide identifies each damage point, explains the specific cause, and provides the setup and handling adjustments that eliminate it.
Bale damage on a hay conveyor is a setup issue — correct infeed technique, belt angle, and stacker positioning eliminate the three primary damage causes without any mechanical modification to the machine.
Damage Point 1: Infeed Loading Technique
The most common bale damage on a conveyor system occurs at the infeed — where the feeder loads each bale onto the moving belt. Two specific loading errors cause damage.
Dropping rather than sliding: When a bale is lifted and dropped onto the belt from a height above the belt surface, the impact compresses the bale corners and can snap twine or dislodge net wrap at the point of impact. The correct loading technique is a lateral slide — the bale is brought to the belt height and slid forward onto the belt surface with a horizontal push, maintaining contact with the belt throughout the placement rather than releasing it above the belt and allowing it to drop. Even a 50–100 mm drop onto a moving belt causes repeated impact stress over a full stacking day that accumulates into broken corners and distorted bale shape by the end of the session.
Placing bales on the belt end-first: A bale loaded with its narrow end (twine/net wrap end) contacting the belt first rather than its flat face creates an unstable base — the bale tends to tip sideways on the inclined belt before reaching the top. A tipping bale either falls off the belt (requiring the stacker to stop and retrieve it) or arrives at the top in an awkward orientation that requires the stacker to catch and reorient it, increasing the risk of rough handling at that end. Always load bales with the flat face down and centred on the belt width.
Damage Point 2: Belt Angle Too Steep
A belt angle above approximately 35–38 degrees causes bales to slide backward on the belt, periodically stopping and restarting as friction alternately exceeds and fails to exceed gravity. This stop-start motion causes the bale to jolt each time it restarts, compressing the leading face against the belt surface and creating impact stress at the bale corners. Dry, lightweight hay bales (under 18 kg) are most vulnerable to this because their lower mass per unit area reduces the friction force that resists sliding.
Fix: Reduce the belt angle to 30–35 degrees. If the target stack height requires a steeper angle than the 4.5-metre belt can provide at 35 degrees, the stack height exceeds the 9JYY-4.5’s recommended range at safe bale transport angles. Accept a slightly lower maximum stack height, or address the issue at the infeed by pre-positioning a step platform for the feeder that allows loading at a height closer to the top delivery point rather than requiring a steep angle from ground level.
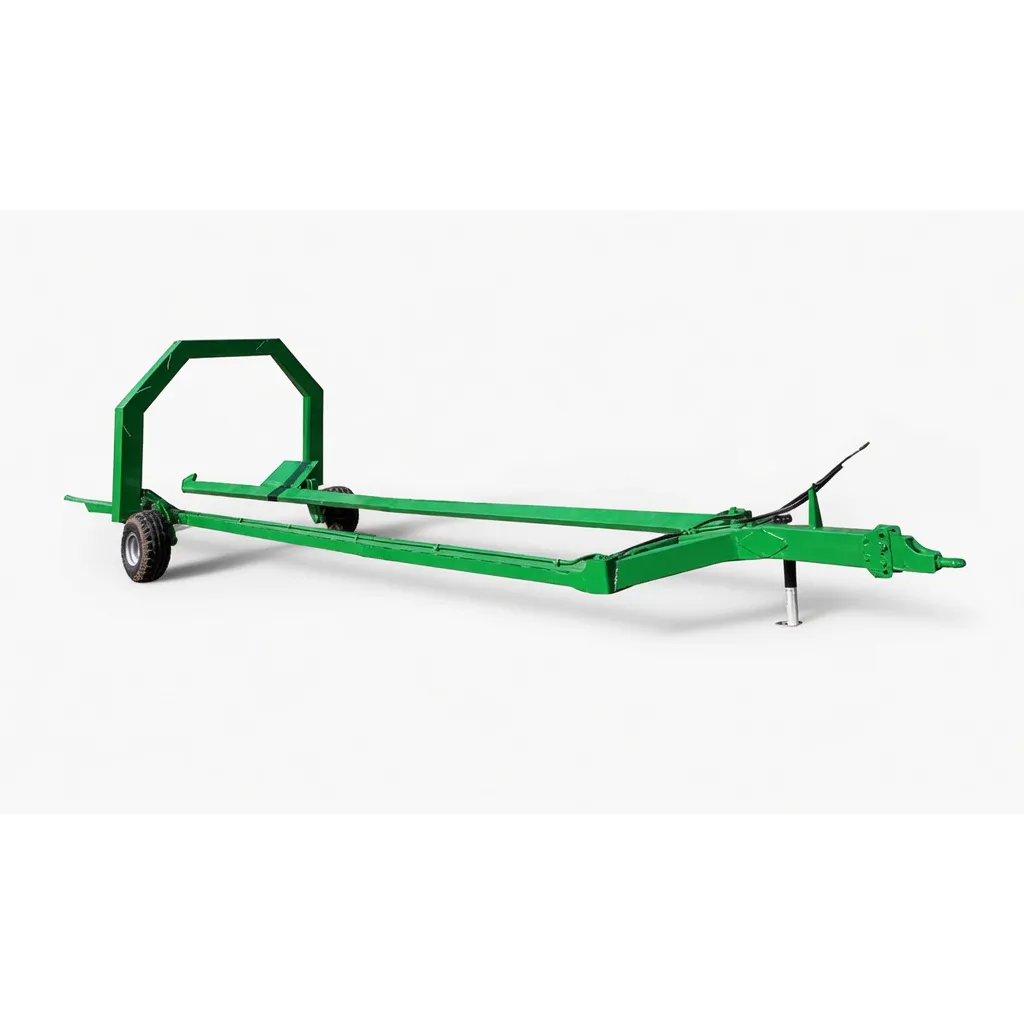
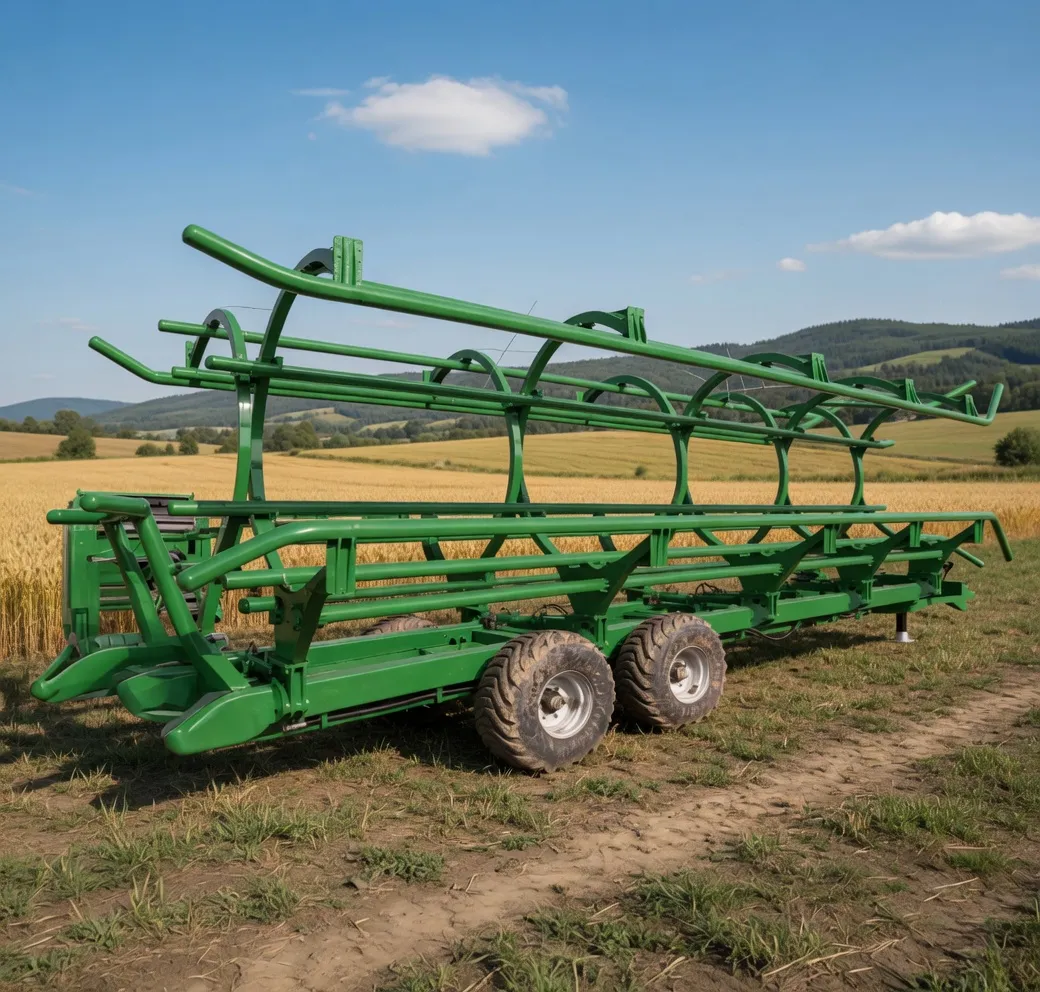
The bale transporter delivers bales to the conveyor infeed at a controlled height — this eliminates the lifting component at the feeder position and reduces the risk of drop-impact loading that causes corner damage.
Damage Point 3: Stacker Positioning and Technique at the Top End
The top end of the belt is where bale damage risk is highest — a bale arriving at 0.4 m/s at 2.5 metres height, with the stacker positioned incorrectly, can slide off the belt end and fall to the floor below, causing severe corner and face damage. Even without a fall, incorrect stacker positioning forces the stacker to grab and yank the bale to stop it rather than positioning it smoothly, creating twine and net wrap stress.
Correct stacker positioning: The stacker should stand with their body positioned so the belt delivery point is at waist-to-chest height and the stack placement position is within a single lateral step. The bale should arrive at the stacker’s chest, not above shoulder height. If the belt is delivering bales higher than shoulder height, the angle is too steep for the stacker’s standing position — either lower the angle or reposition the stacker to stand on a higher platform.
Receiving technique: The stacker should place both hands on the arriving bale before it reaches the end of the belt and guide it onto the stack with a controlled lateral push — not catch it at the belt end and then lift it. A bale that the stacker allows to run to the end of the belt before engaging it builds momentum that requires a sharp stop, concentrating stress at the contact points. Engaging the bale while it is still on the belt surface, 100–200 mm before the end, provides a smooth, controlled transition to the stack position.
Damage Point 4: Bale-to-Bale Contact on the Belt
When bales are loaded onto the belt at intervals shorter than one bale-length-plus-gap, bales contact each other on the belt. Contact between moving bales causes the following bale’s leading face to press against the preceding bale’s trailing face — this compresses the contact zone and can break corners or distort shape, particularly on lightweight hay bales that have less structural rigidity than heavy silage bales.
Fix: Maintain a minimum gap of 0.5 m between bales on the belt — approximately 1 second at standard belt speed between placing each bale. This gap ensures no bale-to-bale contact throughout the belt travel. The gap is the stacker’s buffer time — it allows the stacker to position each bale before the next arrives, eliminating the rushing that leads to rough handling at the top end.
Summary: Bale Damage Prevention Checklist
Recommended Product: 9JYY-4.5 Hay Baler Conveyor
4.5-metre belt at 0.3–0.5 m/s — slow enough for controlled bale placement and smooth top-end handling without impact damage. 20–40° adjustable elevation for operating below the bale-sliding threshold. Correct setup eliminates all four primary bale damage causes from the conveyor system. Available from EverPower’s Condell Park NSW warehouse with Australia-wide delivery.
Frequently Asked Questions
Zero Damage. Every Bale. Right Technique.
EverPower can advise on setup and handling technique for the 9JYY-4.5 to eliminate bale damage for your specific crop and bale weight.
EverPower Baling Machinery Australia Pty Ltd | 27 Harley Crescent, Condell Park NSW 2200
📞 +61 2 9708 3322 | ✉️ [email protected]